Old speaker cabinets are frequently covered with Walnut veneer. This creates some limits to what can be restored, as the veneer measures usually only a few mm. If your speaker cabinet is built from real wood, you can sand the cabinet until stains or scratches are gone, which might destroy a veneer cover.
Our test speaker, a pair of Ohm C2 speakers, has cabinets made from plywood at the sides, bottom and top, all covered with walnut veneer. The front of the cabinet is real walnut. If you like to see more pictures about the original condition of the speaker, have a look here: C2 Ohm Speaker
 |
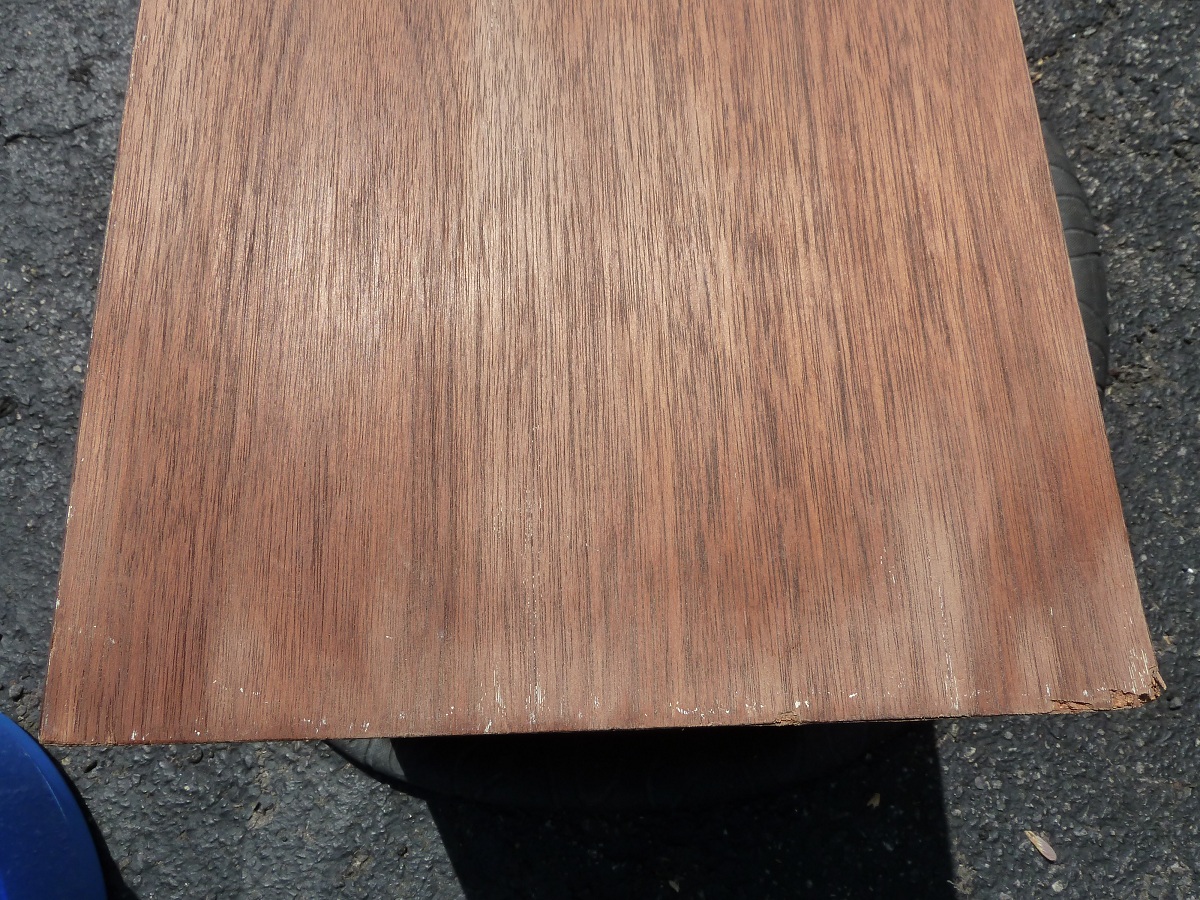
| Cabinet veneer before sanding |
The veneer of the cabinets has threemajor problems. In the left picture it shows the extent of dust and dirt that has been accumulated on the top of the cabinet. After many years this dirt is sticking on the veneer and became very persistant. The middle picture shows the bottom of one of the cabinets. Many scratches and stains are on it, probably from pushing the speaker over the floor at some point in time. The third picture shows the side of one cabinet. White paint is all over the side of the cabinet and sticks deep in the rills of the veneer.
1. Cleaning
It is crucial that the speaker cabinets are completely clean, before you use any varnishes or coatings. To clean the speakers we used some soft brushes to get rid of the all the nonpersistant dust and dirt. Don´t start cleaning dirty speakers by wiping off dust or dirt with towel, as you might scratch the veneer! After removing the first layers of dirt and dust, a wet towel can be used to carefully wipe the veneer clean.
The color at the sides of one of the cabinets turned out to be not water-based. This can be a problem, as chemical cleaners can be aggressive to veneer. We recommend to use a wood cleaner, such as the one on the right (click it). Also, as many cleaners are potentially agressive to the old veneer, we recommend to dilute cleaners with water.
2. Sanding

3. Results
After cleaning and sanding the Ohm C2 speaker cabinets, the veneer looks already much better than before. The cleaner (we used a cleaner for latex paint) was able to remove most of the paint. Ideally, the surface of the cabinets should now be nearly evenly colored, indicating even sanding. However, after applying oil or other finishes on the cabinet, you will hardly see small differences. For our little project it is sufficient to remove the white paint and sand the worst spots. Being careful with the alredy damaged veneer, we rather avoided too much sanding. The sanding process helped to flatten or remove many of the scratches and pepared the cabinets for the next step: Now it is the right time to protect the wood from future damages. Check out part 2 to read about appliance of oils and danishes
 |
| LEFT: Nearly all paint has been removed. RIGHT: Condition of the veneer after sanding |
Some more sanding tips for veneer Link to forum discussion about sanding veneer
Hi, I came across your site while searching for ways to strip away the gold oak factory finish of my Kudos speakers. The speaker cabinets are quite new, purchased in 2011 I believe.
They are made of oak veneer, with a satin finish. The veneer is in as new condition, so not damaged.
However the finish is that gold/yellow oak colour, not to my taste or decor.
I'd really like to strip away the finish and hopefully reveal the more natural colour of the wood.
Would you recommend a stripping or sanding method to do this? So as to not damage the veneer.
And secondly, in your experience, will the wood underneath the finish be of a lighter shade, more natural?
I intend to then paint the speaker cabinets with a Osmo clear white wax finish
Ok, my three cents. I was at a garage sale several years ago. The sale was being run by a couple of 30 somethings that were over charging for everything…except. They had a pare of old speakers that they had to get rid of. I offered $15 and got them. A mis-matched pair of AR-3a's. One has a plywood box, the other MDF. The plywood unit has an original cross over. The second has been reworked (more in a minute). All six drivers test ok electrically. I just finished the new woffer surrounds and hooked up the first one. Now I understand the fuss. They make my 1980's generic ported speakers sound pretty poor.
The bad news (sorta) the MDF box unit has serious physical damage. I suspect it fell off a trailer at highway speed. There is enough left to copy but it will never be an original unit. To all of the contributors, thank you for the insight.